Photos
Overview
The Photos tab allows Users to attach relevant photos to an asset.
The ability to record photos of an asset is an essential tool in Asset Management and can be used to visually document asset condition, additions, disposals, defects and risk items.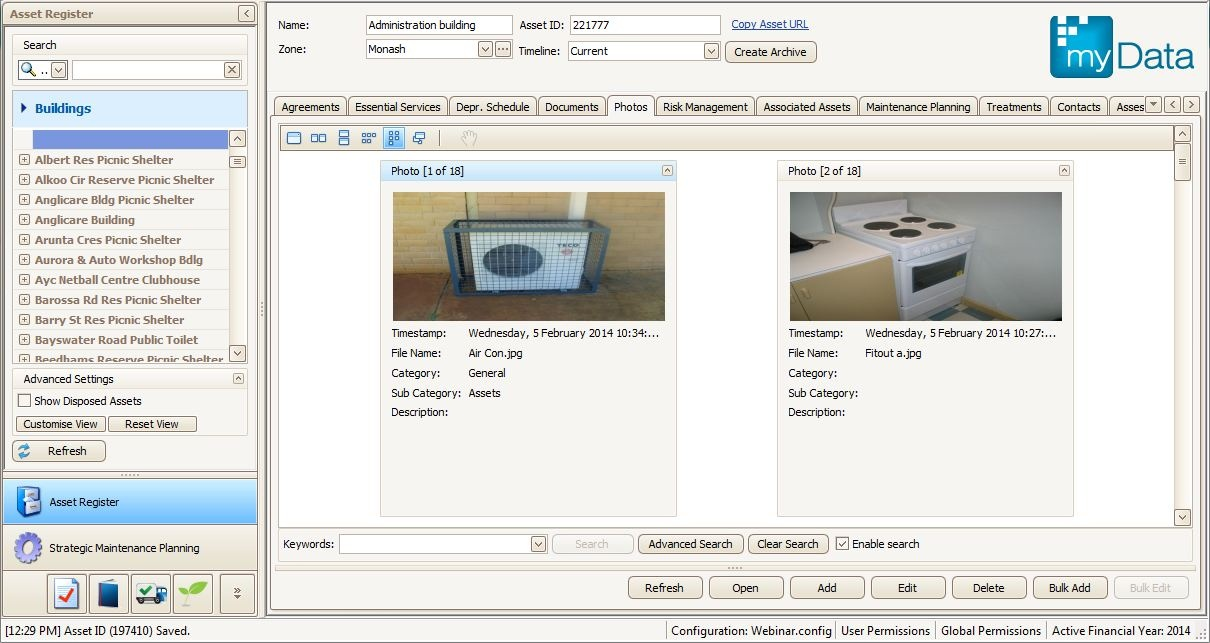
Note: There is a bulk photo/document importer, refer Using the Bulk File Importer for myData.
Attaching a Photo
- Select the photos tab;
- Select Add;
- Select attachment (Photo file path);
- Enter the following attributes;
- Category i.e. Inspections
- Sub-category i.e. Buildings
- Description i.e. West wing windows
- Click Save.
The photo will now be copied to the myData shared directory and a thumbnail will show up in the photos tab.
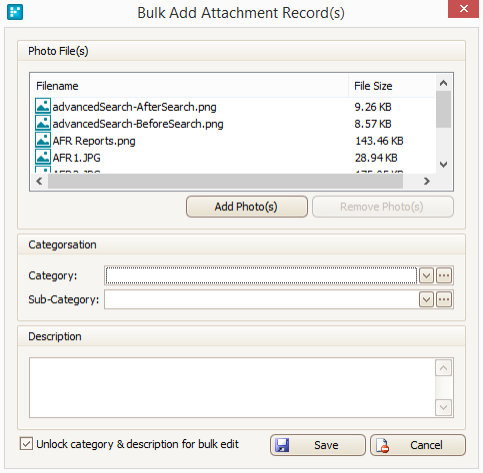
Bulk Attaching Photos
- Select the photos tab;
- Select Bulk Add;
- Select Add Photo(s);
- A file browser will now open allowing the user to select many image files;
- Select the Unlock category and description check-box to enter the following attributes for all photos in the import list;
- Category i.e. Inspections
- Sub-category i.e. Buildings
- Description i.e. West wing
- Click Save.
The photos will now be copied to the myData shared directory and thumbnails will show up in the photos tab.